Mastering Video Editing: A Step-by-Step Guide to Applying Filters and Effects for Professional Results
In the world of digital content creation, applying the right filters and effects can transform a simple video into a professional, engaging piece. This guide breaks down a practical, step-by-step process for applying various filters to your clips, adjusting their intensity, and ensuring a polished final product. Whether you’re editing for social media or a personal project, these techniques will help you enhance your videos with precision and creativity. We’ll cover everything from initial application to final adjustments, ensuring you have the tools to make your content stand out.

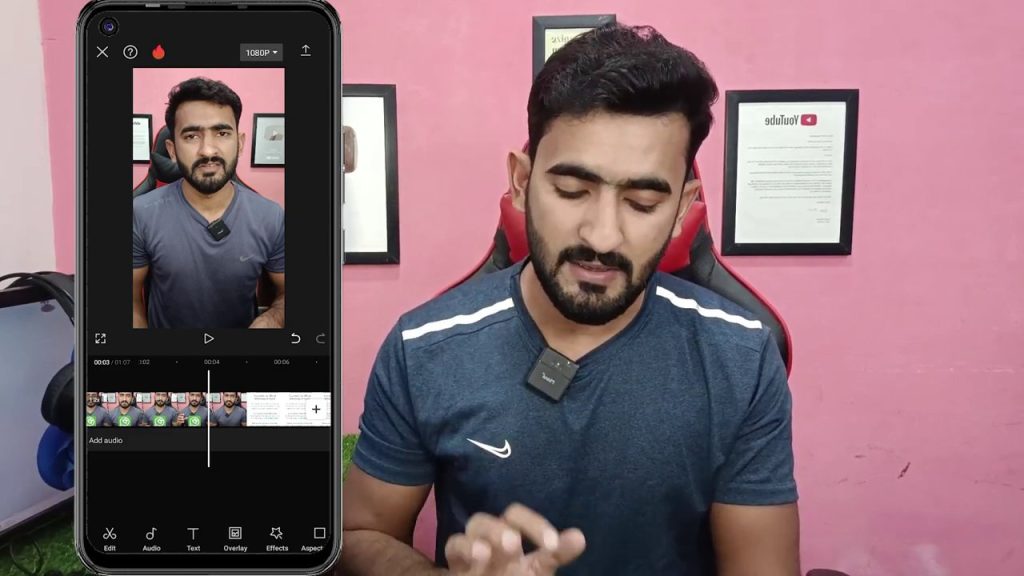
Understanding the Foundation: Applying Basic Filters
The first step in enhancing your video is applying the foundational filters. The process begins by selecting the clips you want to improve. As demonstrated, you should apply basic filters to your clips first. This initial layer of adjustment sets the stage for more detailed work. For instance, you might apply a filter 3-4 times to a single clip to build up the desired effect gradually. This repetitive application isn’t redundant; it allows for finer control over the intensity and character of the filter.
After applying the filter, the next crucial step is to create a filter pack. This involves saving your specific filter settings as a preset. By writing down or saving these settings as a “pack,” you create a reusable template. This is incredibly efficient for maintaining consistency across multiple clips or projects. You can apply this same pack to other sections of your video, ensuring a uniform look and feel without having to manually adjust each parameter again.
Refining the Look: Adjusting Filter Intensity and Layers
Once your basic filters are in place, the refinement process begins. A key technique involves using a lower sub-filter. This secondary filter layer works on top of your initial application to add depth and texture. Its primary function is to give your skin tones or specific elements a gritty, textured look—like adding a subtle film grain or noise effect that enhances realism.
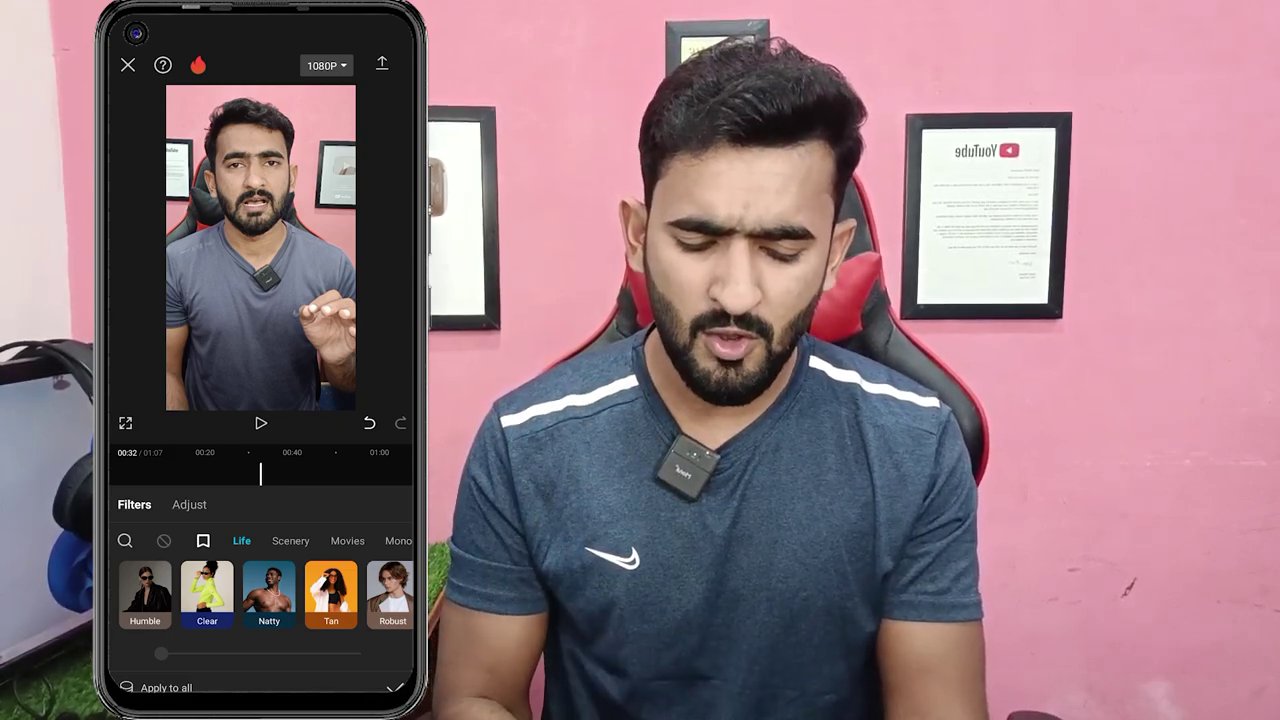
You apply this sub-filter by layering it above your initial adjustments. The process is straightforward: apply the filter, then observe the changes. After application, you must check the results. A critical parameter to adjust is the filter intensity. For many effects, setting the intensity between 20-30 percent is ideal. This range is often strong enough to be noticeable and effective but subtle enough not to overwhelm the original footage. Overdoing the intensity can make the video look artificial or over-processed.
The guide emphasizes checking every single clip after applying the filter. You should review all clips to confirm the filter has been applied correctly and uniformly. This meticulous review ensures there are no inconsistencies in your edit, which is vital for a professional finish.
Advanced Editing Techniques: Masking, Effects, and Resizing
Beyond basic filters, advanced techniques involve more creative control over specific parts of your video. One such technique is masking. This allows you to apply effects or filters to only a selected portion of the frame, leaving the rest untouched. You must take the chance to experiment with masking on your clips. By using masks, you can isolate subjects, highlight areas, or create dynamic transitions.
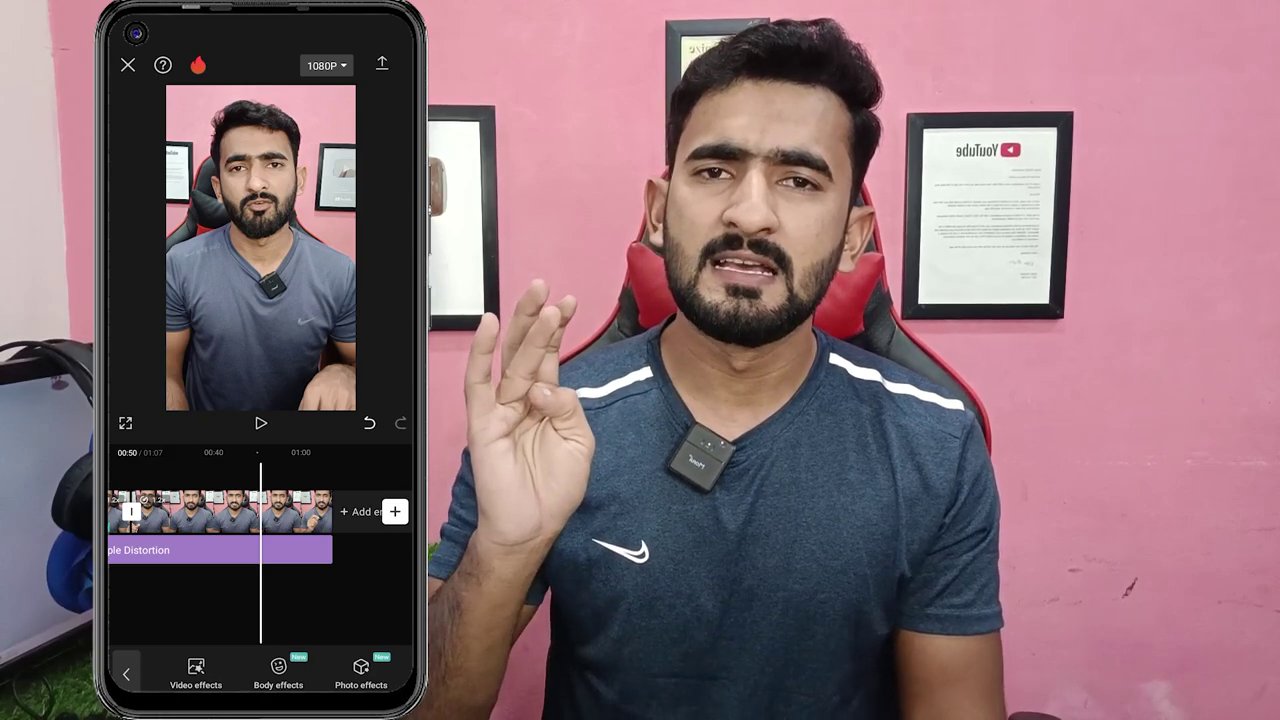
Within these masks, you can apply various effects and filters. This localized application is powerful for directing the viewer’s attention or adding stylistic flair. Furthermore, you have the ability to reframe and resize your clips within the editing software. Adjusting the size and composition can dramatically change the focus and impact of a scene, allowing you to crop in on important details or create a more cinematic aspect ratio.
The process also includes adjusting parameters like blur and speed. Adding motion blur or changing the playback speed (creating slow-motion or time-lapse effects) can add a professional polish and dynamic energy to your sequences. These tools give you the flexibility to match the visual style to the content’s mood.
Finalizing and Sharing Your Project
The final stage involves applying your perfected edits to all relevant clips and preparing for sharing. The tutorial mentions applying these techniques to “six by six” clips—likely referring to a grid or a series of clips. You should implement your final filter packs and adjustments on any video you are working on.
By working on these clips, you achieve a cohesive and attractive final video. The result is content that is not only visually appealing but also primed for sharing. The guide encourages you to share your finished videos with friends and on your social platforms. Don’t let the opportunity pass by—if you haven’t started using these editing techniques, now is the perfect time. Creating and sharing high-quality video content is a powerful way to engage your audience. For more on optimizing content for specific platforms, explore our guide on The Hidden Language of Digital Content: Decoding Signals from TikTok to Google.
Furthermore, if your creative process involves sourcing inspiration or clips from social media, knowing how to save content properly is essential. Check out our comprehensive resource on Unlock Instagram: Your Complete Guide to Downloading Reels, Videos, and Audio to streamline your workflow.
Conclusion: Your Path to Professional Video Edits
Mastering video filters and effects is a journey of layering, adjusting, and refining. Start with basic filter applications and build reusable packs for efficiency. Refine your look by carefully adjusting intensity and adding sub-filters for texture. Don’t shy away from advanced tools like masking and resizing to gain precise creative control. Finally, apply these techniques consistently across all your clips and share your polished work with confidence.
The key takeaway is to experiment and review. Apply filters, check each clip, adjust parameters like intensity and blur, and don’t forget the power of masking for targeted effects. By following this structured approach, you can elevate your video content from simple recordings to compelling, professional-grade visual stories. The tools are at your fingertips—now it’s your chance to create and share something amazing. For those looking to expand their editing toolkit with animation, our guide From Lottie to AI: A No-Code Guide to Animating Characters for Your App offers excellent next steps.